Monday, September 23, 2013

Fall Must-Haves

Fall is officially here and I am so excited to bring out my fall wardrobe! This season is all about the "glam tough girl" in over-sized cardigans and jackets, leather/leather-look, and tartan/check prints. I am seeing more black and white than in previous seasons, but jackets and shoes are always a fun way to incorporate some color. Incorporate any of these looks into your wardrobe to stay on-trend this season!


Boyfriend Cardigan
Thick, cable-knit, chunky cardigans fall into the category of functional fashion. This warm number can be added to a dress shirt and slim fitting dress pants, or jeans and a tee.

Over-sized Jacket
I'm kind of obsessed with the over-sized jacket trend, and sadly have not found one in my size. I think if I get one in a US size 14, it won't give the dramatic over-sized look I would be going for. I love this look because of its nod to menswear, which plays up the "glam tough girl" look this season.

Tartan/Check
Up until recently, this look was from the distant past of the 90s, but check and tartan are an upgrade from plaid. These patterns, paired with more sophisticated tailoring make for some adorable, yet appropriate, workwear.

Playful Hipster Animal Tee
I know what you're thinking. "Is she forreal?" The answer is yes! I'm not even sure if this is a trend, but I've seen these hilarious hipster animal tees on two separate websites. I saw the cat shirt (F21+) and bought it immediately because it made me crack up. These tees are a fun addition to a weekend wardrobe for the lighthearted among us. Plus, who doesn't like animals adorned with hats and hipster glasses? Name me one person. Just one. See, you can't!

 Suede Flats
I'm wearing these babies on my feet RIGHT now. They are lovely fall shoes and will literally go with anything. Don't believe me? Match these shoes with any clothing featured in this post. For suede shoes, stick with fall colors: pea green, mustard, burnt orange, and oxblood.

Leather Look
Once again, leather is back in season. Last year, we saw leather pants, shorts, and lots of leather and leather-look jackets. This season is all about leather skirts and dresses. This trend truly embodies the "glam tough girl" theme of fall clothing this season, but it is on the trendier side, so I wouldn't put too much money into following this one. Forever21 has some on-trend leather-look pieces for cheap.

Aztec
Aztec is back in style again this season. I love the texture that is created from the patterns in these skirts. Paired with a solid-colored top, these are a fun addition to a fall wardrobe.

Mod
In my not-so-humble opinion, mod is never out of style. Like, never ever. These body hugging dresses look great any time of year, but also look excellent paired with a loose fitting jacket or cardigan, bowler hat, and a bright red lip.

What fall fashions are your favorite this year?

Saturday, September 14, 2013

Edge Control

Last year, I was really excited when I got my yarn twists. You couldn't tell me NOTHING. They look so lovely plus I am always for a hairstyle that forces me to keep my hands out of my hair.

Stylin' on em

But when I took out my twists, a tragic, tragic thing happened: my edges went with them. Yes, girl. I started taking the twists down at my hairline, and as I carefully unraveled each twist, INCHES of my hair broke off. Fortunately, only my edges suffered, but it was still traumatizing. I haven't gone to have my hair professionally twisted or braided with extensions since.

Now as much as I am obsessed with hair care, I think trauma (and maybe a little denial?) prevented me from really researching how to grow my edges back. They have grown back some, just due to my regular routine, and I think I camouflage them pretty well, especially since I wear a lot of twistouts. However I needed to do something more.

But I can't always wear twistouts... :(

So this week, I have began my very own Pimento Hair Growth Oil Challenge! I will put a little pimento oil on my edges and massage the oil into my scalp each night in an attempt to stimulate growth. The bottle actually encourages doing hot oil treatments. I wish I actually read that before I washed my hair earlier today, but there's always next week! I'll take a picture of my edges at the end of every week and update you after 4-6 weeks.

And now, the moment of truth. I can't believe I'm putting myself out there by posting this on the internet, but this is what my edges look like now, as of the end of week one:


Are your edges also not what's up? Join me in my challenge! We can do this!

Saturday, September 7, 2013

First Plus-Size Show EVER at New York Fashion Week

New York Fashion Week started on Thursday, and for the first time ever, there was a plus-size show! With the average US size being a 12, it's about damn time! The designer, Eden Miller, calls her line "Cabiria" and it is specifically designed for sizes 12 to 24. Check out some of the looks below.


Wednesday, September 4, 2013

How to Achieve the Perfect Twistout

About a month ago, a friend of mine told me she doesn't know how to braid her hair--she didn't mean with the addition of hair extensions, but she literally does not know how to braid her own hair. That shocked me because I assumed it was something everyone inherently knew how to do. And just a week ago, a different friend was telling me about her plans to get Havana twists professionally done. "Havanna twists are so easy to install!" I told her, to which she responded, "I barely know how to twist my own hair." These two recent occurrences have inspired me to bring it back to the basics, starting with a post about twisting natural hair and achieving a bomb twistout as a result.

What you need:
  • Spray bottle
  • Water
  • Oil
  • Leave-in conditioner
  • Hair butter or cream

Steps to achieve great twists
1. Start with dry, de-tangled hair; damp hair is okay. I usually don't like to do twists on soaking wet hair because they shrink a lot and don't give me the length I prefer.

2. Fill an empty spray bottle mostly with water. Fill the rest with a bit of your favorite oil (I used meadowfoam seed oil), and a dollop of your favorite conditioner.

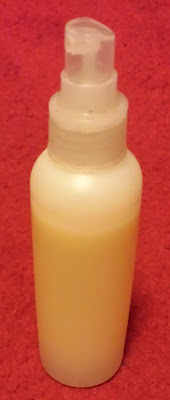
Water, oil, conditioner mixture.

3. Divide your hair into 4-6 sections. It doesn't really matter how many and they do not need to look neat. I usually end up with 6: three along the front of my head, one above the nape of my neck, and two on the crown.

4. Doing one section at a time, take about a 1 to 2 square-inch piece of hair, shake your spray bottle, and spray your hair about 3 or 4 times with your water/oil/conditioner mixture. Be sure to shake your spray bottle before each use.

5. Take a teeny bit of your favorite hair butter or cream, and moisturize that 1 to 2 square-inch piece of hair, focusing on the ends and smoothing it over the entire length of your hair.

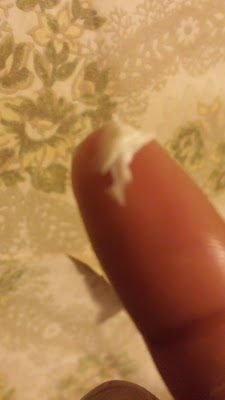
You really don't need a lot.

Be sure to focus on the ends, since they get the driest and need more attention.

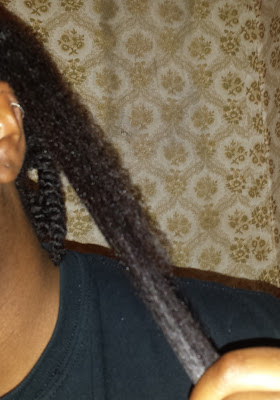
6. Separate the 1 to 2 square-inch piece of hair into two equal parts and twist in a downward direction, making sure to smooth over each half of the 1 to 2 square-inch piece after each twisting motion. Twirl your hair around your finger once you reach the end of your twist to secure it.

Hair should look smooth. Notice the contrast between the twisted part and the ends.

7. Repeat the process until all hair in your section is twisted. Repeat for all other sections.

It's said in Step 6, but it's worth repeating: The key to great twists is really making sure your hair is moisturized from root to tip, smoothing your hair with your fingers after each twisting motion, and twisting in a downward motion.

Steps to achieve a great twistout
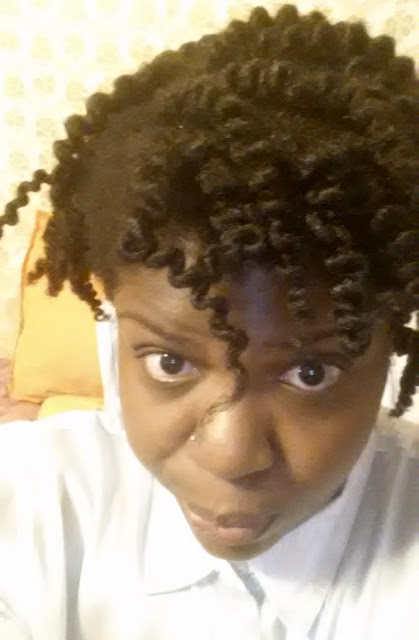
8. For a great twistout, I like to keep my twists in overnight. Just put a satin cap over your head and get that beauty rest, girl!
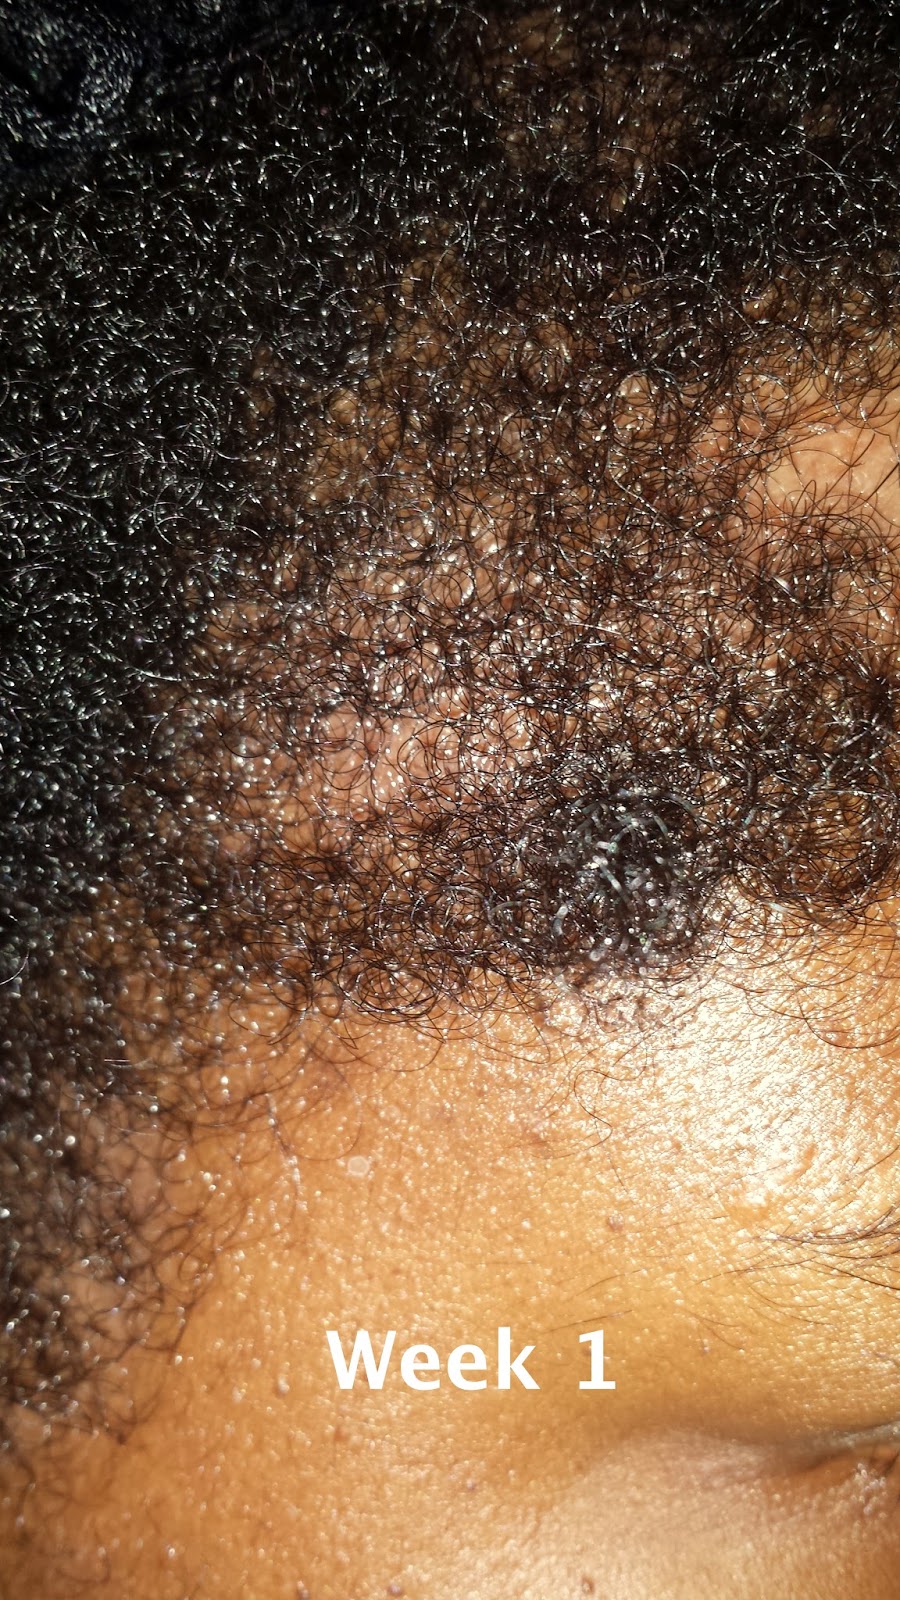
This was taken the next morning.

9. Simply unravel each twist. Don't worry... It might will look a little funky.

Not my best look, but we're not finished yet!

10. Next, just separate each half of the twist into two. (Essentially, that one twist you started off with becomes 2 pieces of hair when unraveled. You want to separate each half of the twist, so that one twist ends up being four pieces of hair).  I start from about an inch from the root and simply separate with my fingers. This will provide some much needed volume and make your hair look fuller.

And, voila!

See, that's not so bad. Easy as 1, 2, 3, .... 10!


Sunday, September 1, 2013

Fun Workwear

Today, I am blogging about my awesome bright cobalt blazer! It is an unstructured jacket so it works very well with both t-shirts and collared shirts. I'm very pleased with the fit and look of the jacket, and the ability to dress it up or down.

Daydreaming about COLOR!

I actually ordered matching scallop-edge shorts, but they are a little too short to wear to work, which is where I was coming from when these pictures were taken. I bought the matching jacket and shorts from SimplyBe, but it looks like they're currently sold out. Here is how the whole ensemble looks on the model though.

I decided to pair the blazer with some form-fitting black dress pants, a neon tee, and my new brown flats. I loved the  incorporation of a trend (neon) and the balance of fun (cobalt and neon) and business (black pants, brown/"nude" flats). The outfit is work-appropriate, yet still has some personality.

My sister's friend was walking by while my boyfriend snapped photos. I love her floral blazer!

The purse adds some much needed PATTERN to this ensemble.

Don't be mistaken - black and brown do match!

Outfit details:
Blazer: SimplyBe (sold out; similar here) // Tee: JCP // Pants: JCP // 
Shoes: JCP // Handbag: NY&Co (old; similar here